Connecting a Snowflake Database
Instructions on connecting a Snowflake Database to SignalPilot

To connect Snowflake to SignalPilot, you’ll need your account URL and login details. You can find these in the Snowflake admin console or by asking your database administrator.
Required Information
-
Connection Name
A friendly label for this connection (e.g., Finance Warehouse, Snowflake Analytics).
Tip: This is just for your reference in SignalPilot. -
Description (Optional)
Notes about what this connection is used for. -
Database Type
Select Snowflake.
Connection Fields
-
Connection URL
-
The unique URL for your Snowflake account.
-
To find it:
-
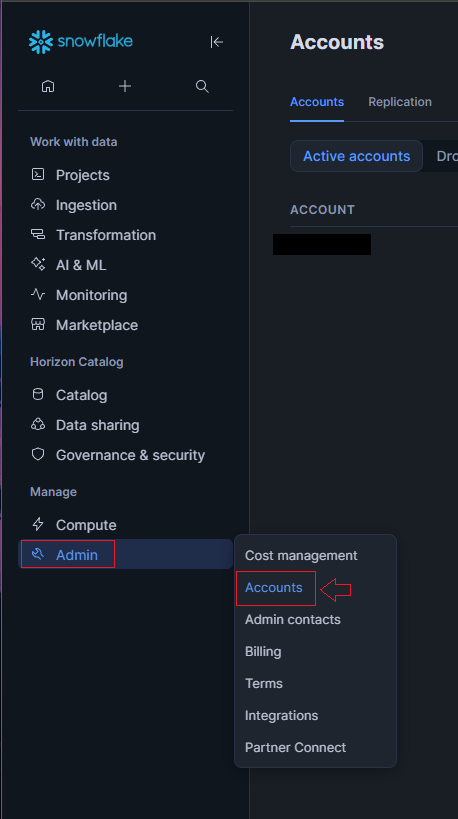
Go to Admin → Accounts
-
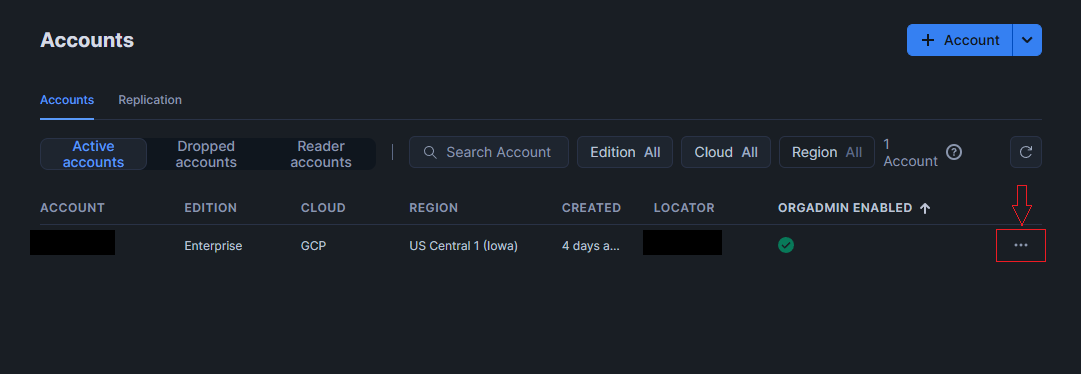
Click the three dots (…) next to your account
-
Select Manage URLs → Copy the Current URL into the Connection URL Field
-
-
Example:
https://abcdefg-do12345.snowflakecomputing.com
-
-
Username
-
Your Snowflake login username.
-
Example:
db_user
-
-
Password
-
The password for your Snowflake username.
-
Note: Credentials are encrypted locally using AES-256.
-
-
Database (Optional)
-
The default database to connect to inside Snowflake. When not specified, SignalPilot will pull schema information from every available database on your Snowflake account.
-
Example:
ANALYTICS_DB
-
-
Warehouse (Optional)
-
The Snowflake warehouse to use for db queries. SignalPilot needs to use a warehouse in order to pull the schema information from your database connection.
-
Example:
COMPUTE_WH
-
-
Role (Optional)
-
The Snowflake role you want to assume for this connection. Leave blank to use the default.
-
Example:
SYSADMIN
-
-
Testing and Creating the Connection
-
Once your details are filled in, click Create Connection.
-
SignalPilot will test the connection and confirm access.
-
If successful, your Snowflake database will be ready to use inside SignalPilot.
